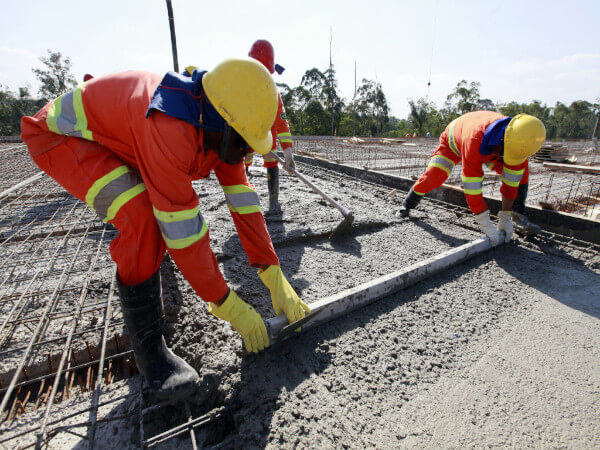
Women in South Asia have long been doing intense physical labor in building sites and brick industries for relatively low pay. And, yet it is discouraging to be a part of a heavily male-dominated construction industry. Whenever I passed by a construction site, I felt powerless and afraid of the tools that men carried effortlessly, as if to prove that gender disparity in the labor market exists for a reason. In other words, the construction world felt unattainable in all its toughness.

Image Source: Women at work © The Record Nepal
As an aspiring architect, the dichotomy between architecture and construction seems nonsensical, particularly in the ever-evolving realm of sustainable architecture, where prototyping and experimenting are at the core of design processes. There is also an assumption that architects are above construction workers – a dynamic that sustains social and class imbalance. While there are many structures to criticize about, luckily, there are also associations like Critical Concrete who facilitate three-weeks of intense, hands-on workshops to understand the material, building techniques, and teamwork as part of the post-graduation course in sustainable architecture. The workshop positively shifted my perspective of the construction industry and further expanded my own personal boundaries.
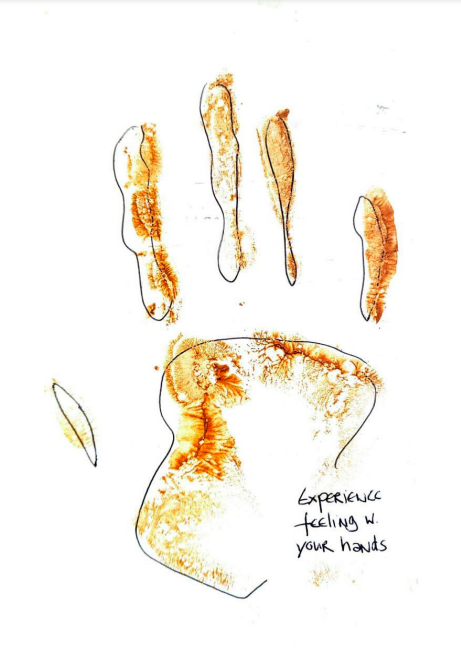
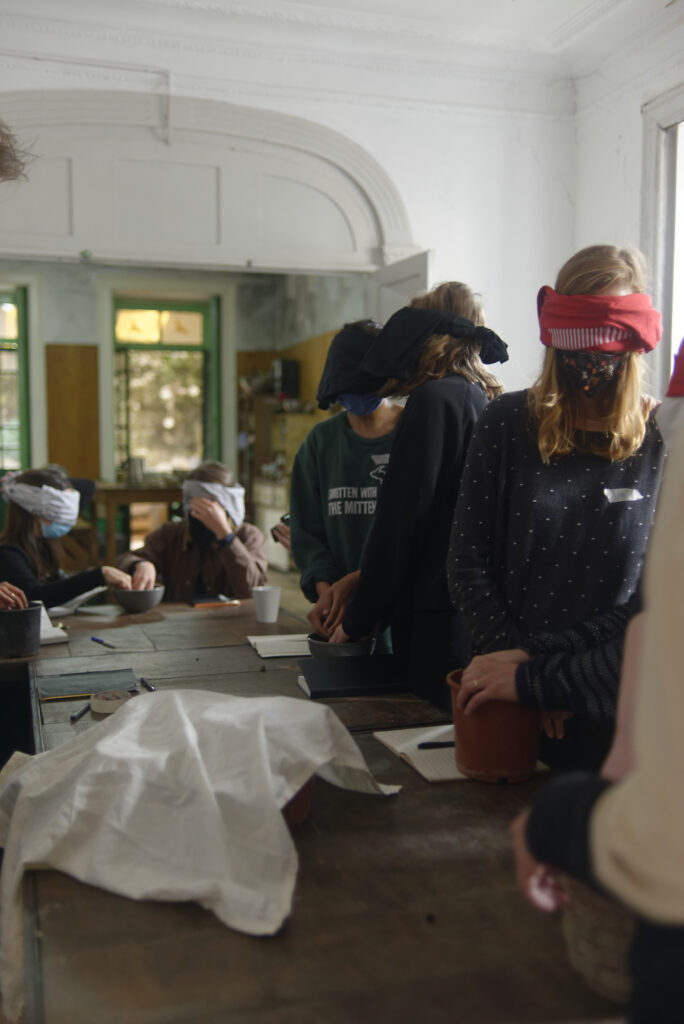
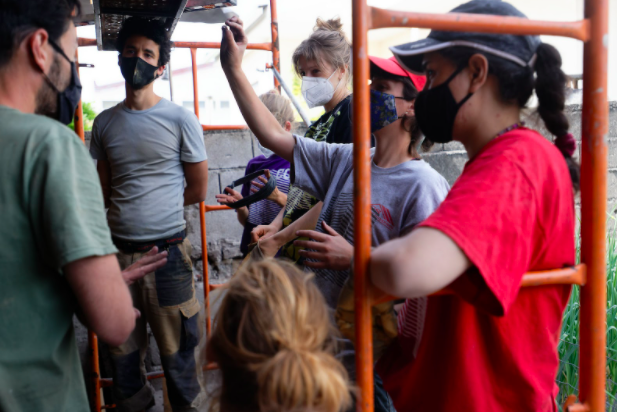
“Let’s get our hands dirty!” architect Hanno Burtscher, instructed a team of ten women who came from different professional backgrounds, race, and geographical locations. Hanno introduced himself as an earthman, with an Austrian sense of humor, quick wit, and great teaching style, he grouped students in pairs to use all four senses except for sight to identify the local materials used for raw earth construction. This is how the welcome ceremony to the workshop began and it had already set a higher bar for the rest of the workshop. The joy of sharing stories moved the conversation from endless banter about cheese and food to serious topics like what sustainable construction means and how the uncertainty during the time of pandemic has affected our lives. In short, the day exuded a sense of togetherness.
*Sketch by Charlotte Schneider, Alumni, Post Graduation 2020-2021
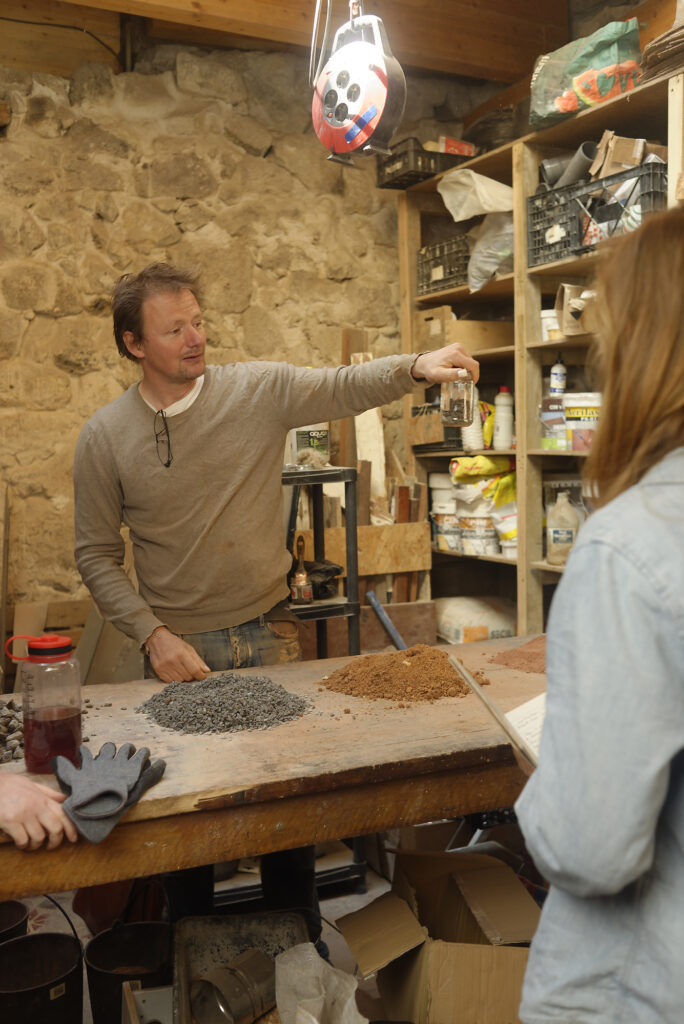
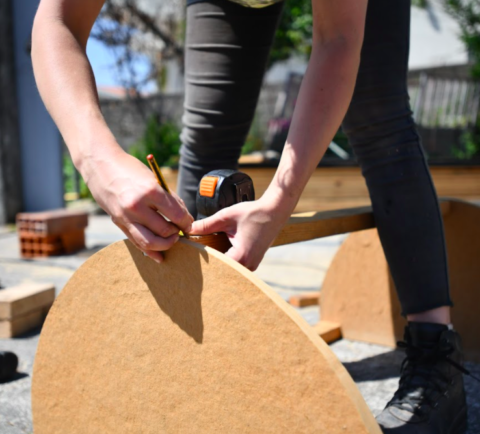
WEEK 1 | RAW EARTH CONSTRUCTION | HANNO BURTSCHER
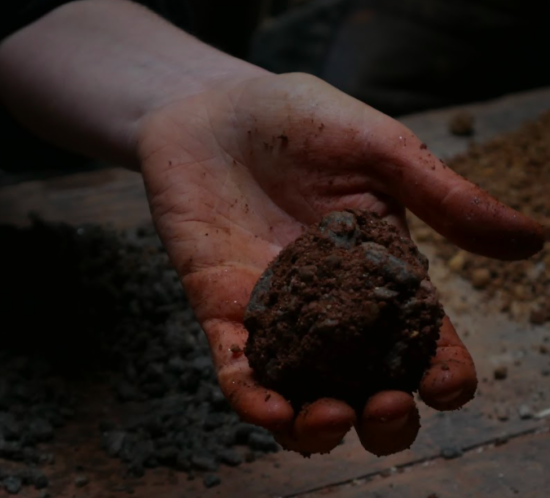
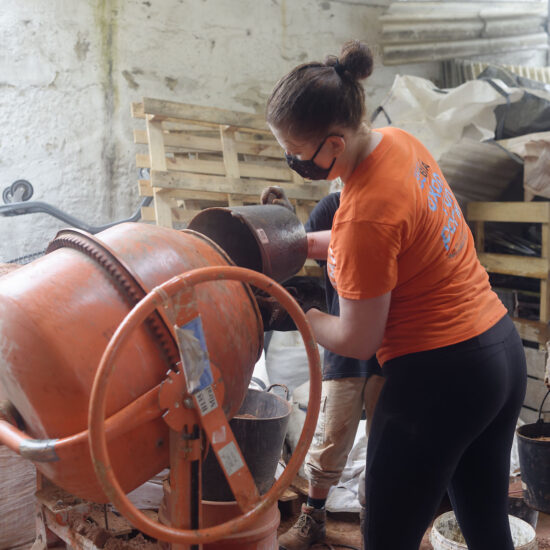
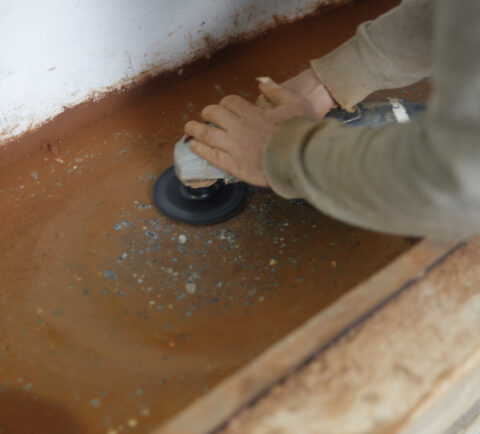
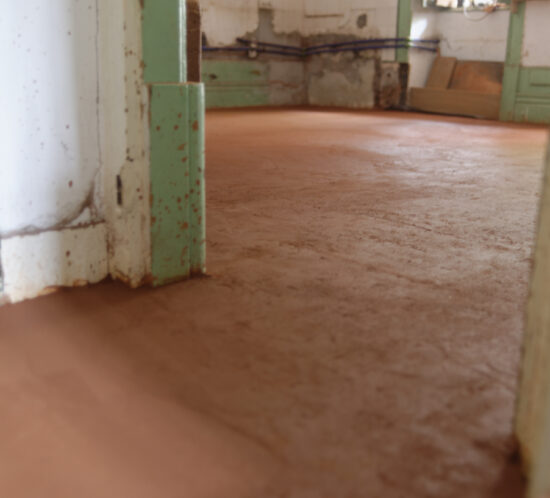
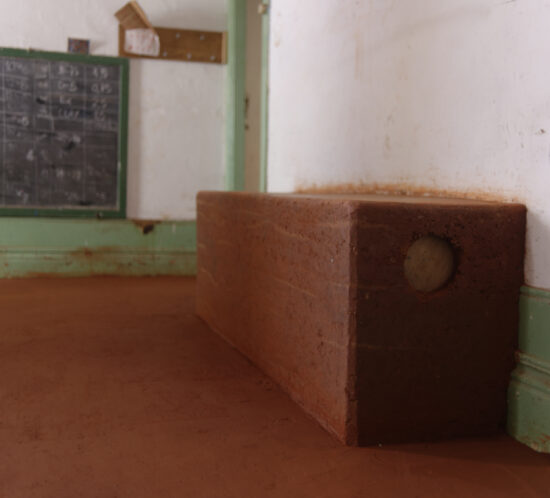
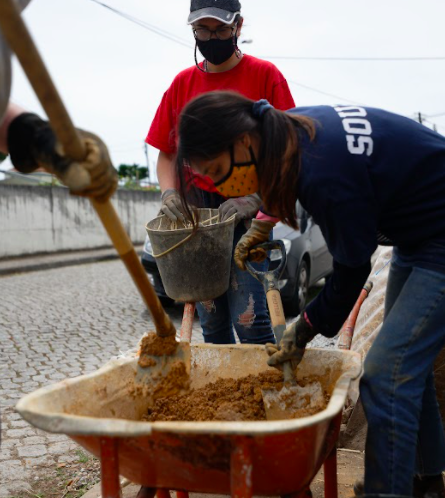
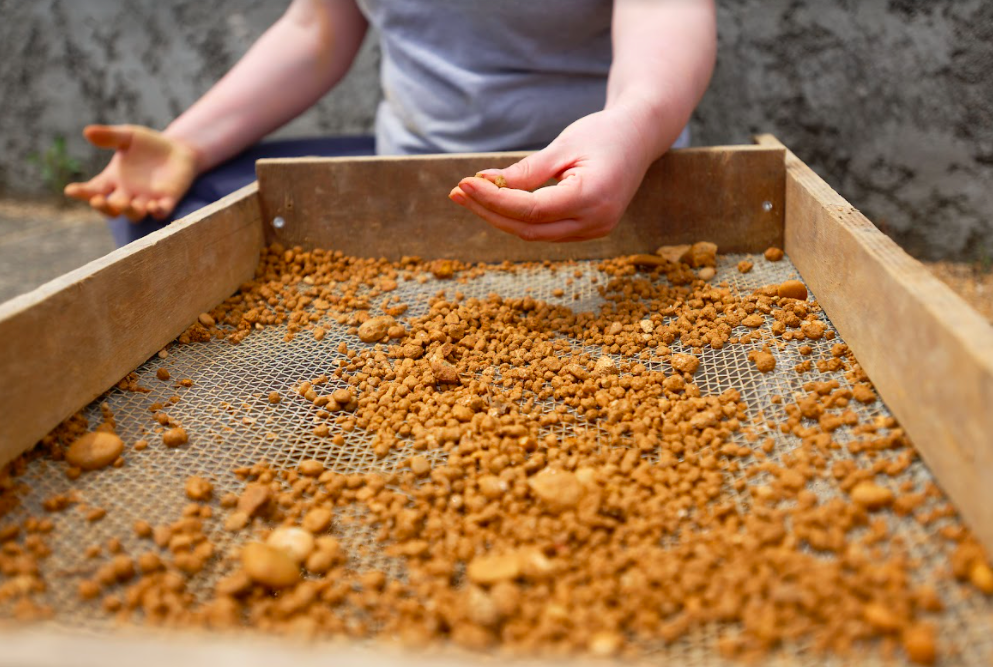
The first week of the workshop was a battle – a battle to make proper earth mix to build a heated earthen bench and flooring for the kitchen at Critical Concrete. From the start, we learned that the key components of earth mix are clay, small gravel (0-5 mm), big gravel (5-15 mm), sand (0-4 mm), and water.

Most of us were already aware of the composition elements through our Raw Earth online course, but what made the difference in the practical workshop was the experimentation and improvisation in the mixing process since the excavation materials were available in limited amounts. The question constantly surfaced during the workshop – how do we make the most use of what is available around us? And this was a revelation in itself because theoretically, we learn the ratio – 40% of excavation, 20% of small gravel, 20% of big gravel, 20% of clay, and water – to achieve the desired mix.
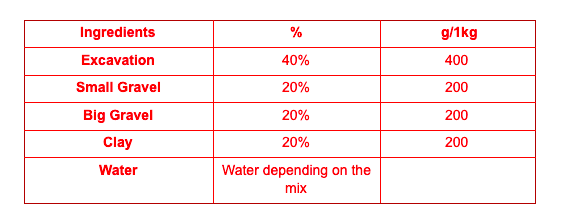
In practice, however, there had to be adjustments in the ratio based on the materials that were available to us. The way we integrated the composite materials together also made a big difference in the quality of the earth mix. So, at times we had to find creative ways of using what was available to us.
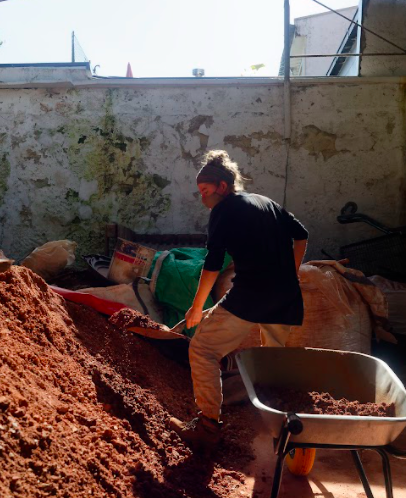
“While nearing the end of the earth mix for the floor, we ran out of the large size rocks. My typical mindset is to say, “Let’s just go buy more.” However, with the mindset of Critical Concrete to use what we already have, we were not going to buy more. To finish the mix, we scrounged throughout the construction yard looking for proper sized rocks and were able to get the right volume,” Mary shared her experience. And this was the general experience during the workshop – how to find sustainable solutions when we hit a roadblock.
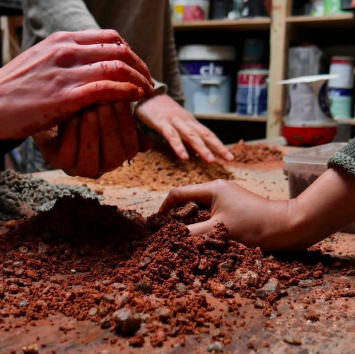
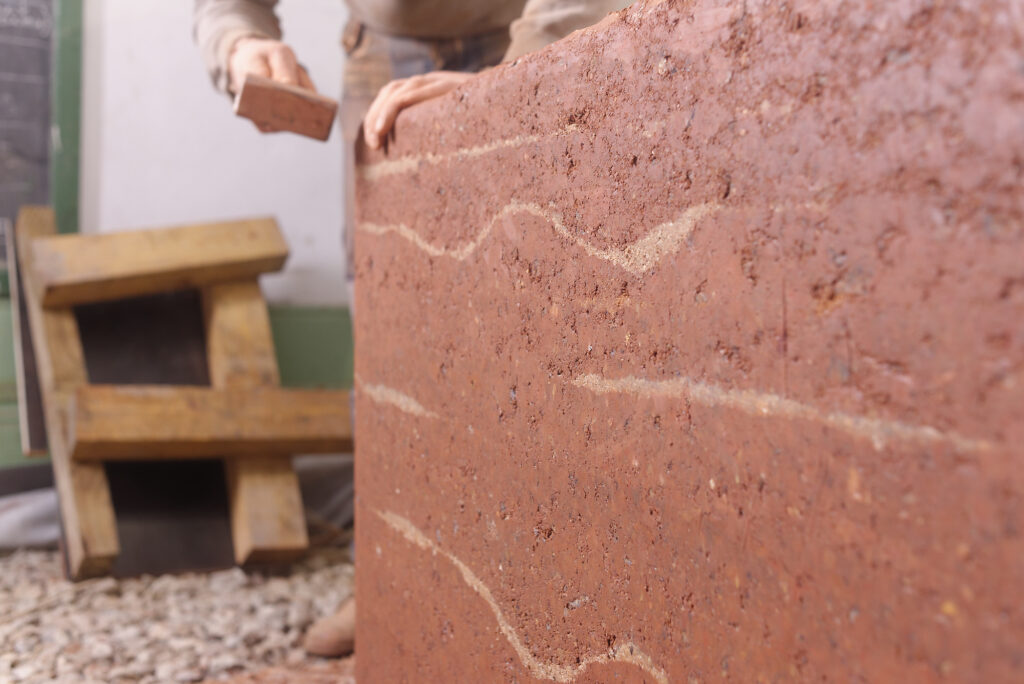
In our earliest days of the workshop, we dropped a fist-sized earth mix balls from 1 meter height to see whether they stuck together or crumbled. We concluded that the ball should drop in larger pieces rather than completely shattering or sticking together. If it’s too sticky, either the clay or water content is too high which will result in a mixture that won’t be suitable to create a form. The same logic applies for the dry mixture as well. After a process of trial and error, we realized that there was no concrete recipe to achieve the perfect mix. But there were a number of factors that determined the quality of the mix. One of them is the clay content, which is normally 20 percent in total but depending on the situation, it could range from 5 – 30 percent. The purpose of the clay is to bind the materials but the more surface area we have in the mix, the more clay we require, from which we can derive that the smaller the surface area of excavation, the higher clay content would be required to bind it. Simple physics!
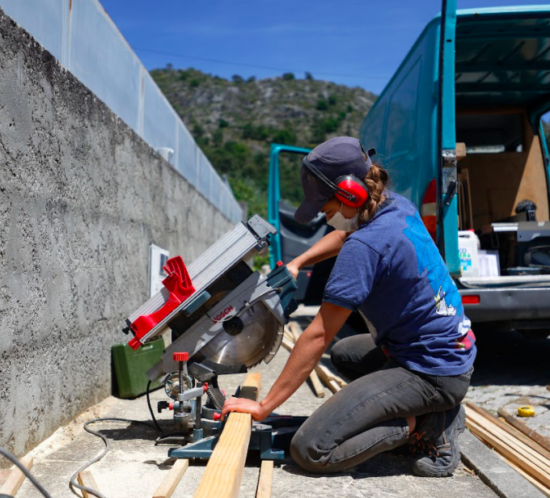
Many construction sites are not inviting spaces for women. Women’s work is often considered too frivolous to the degree that they are rendered valueless in the number-driven capitalist economic system. During the workshop, this dynamic was challenged. A team of mostly women and Hanno prepared the foundation for raw earth flooring and built the formwork for the bench. As I was lifting heavy stones and using power tools, I occupied a space that was not ‘normalized’ for women. I quickly realized that the problem wasn’t these too feminine, delicate hands but rather it was the devaluation of women’s work that put women in confinement of patriarchal ideas.

“We either put 100 percent into this or we don’t do it at all,” Hanno remarked while we were putting earth mix into the form work. The workshop was fueled by this exact mindset but was also filled with laughter and leisure in between our hard work. Overall, during the first week with Hanno, he guided us by observing the way we were interpreting the materials. We were able to experiment with the materials and make decisions based on our judgement.
Week 2 | Esposende Building Site | Hugo Dourado, Pietro
Degli Esposti, Martina Eandi
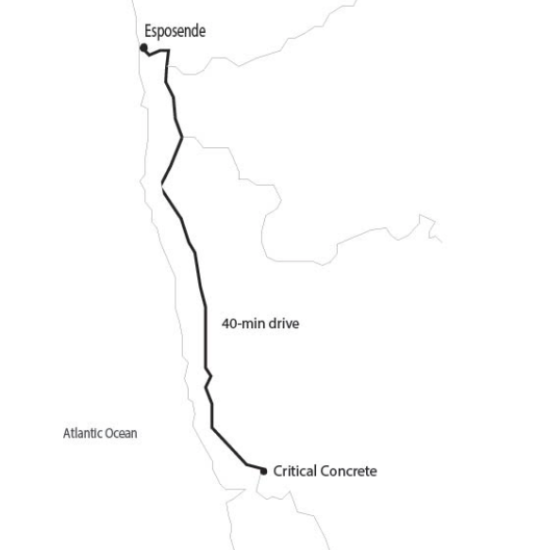
Esposende was roughly a forty-minute drive away from the city of Porto. And when the drive is long, conversations of past, present, and future start bouncing around.
“How do you say it?” Bara from Czech Republic asked.
“Vastu Shastra,” I repeated.
“And that means harmony of energy through design? That is how I would like to design the interior of my place one day,” remarked Charly from Germany.
The conversation moved in such a way during the Esposende trip. The practical workshop as a part of the post graduation course merged people with similar ideologies, dreams, and passion of bringing social and political change through architecture and urban planning. The workshop also meant more than fulfilling a part of the course. Some of us had flown miles away leaving their usual life to come to Portugal to venture in a new journey.
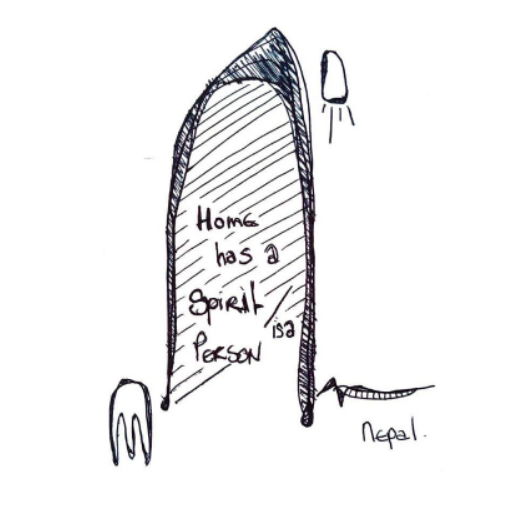
*Sketch by Charlotte Schneider, Alumni, Post Graduation 2020-2021
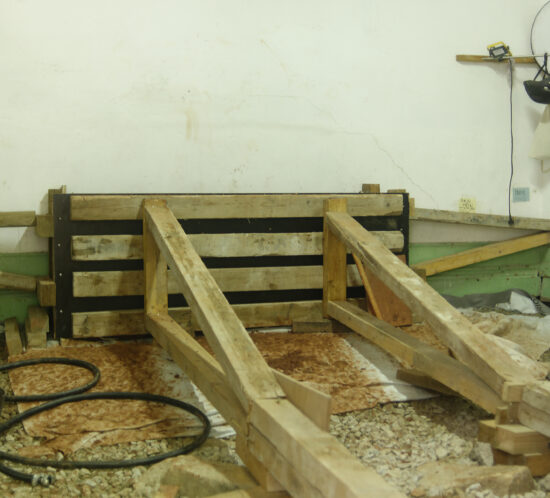
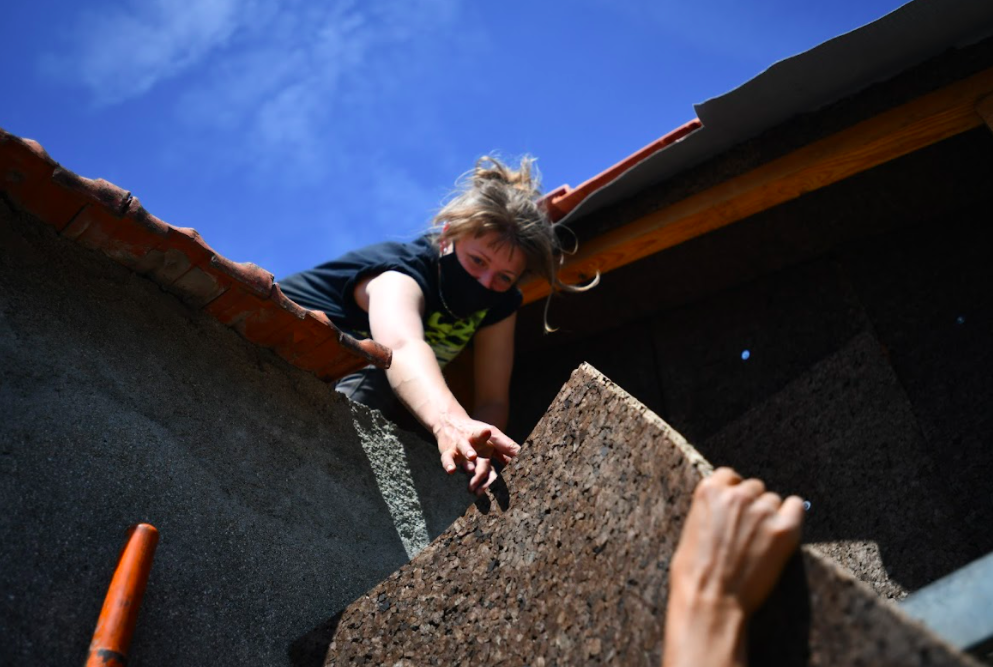
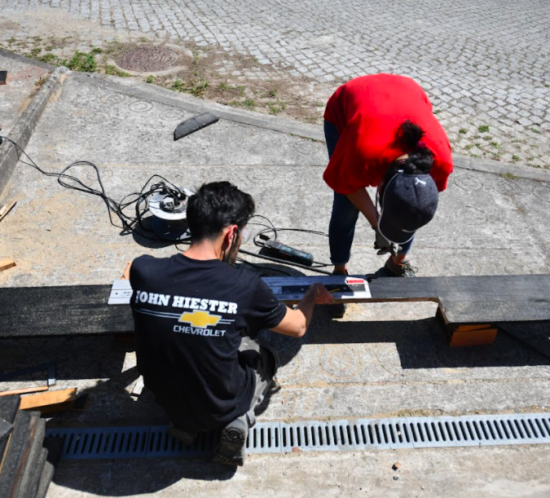
The building site was under construction, so there were different tasks that the students could choose from such as fixing the board and batten cladding system, wood charring station, tiling the roof, or constructing a rocket stove.
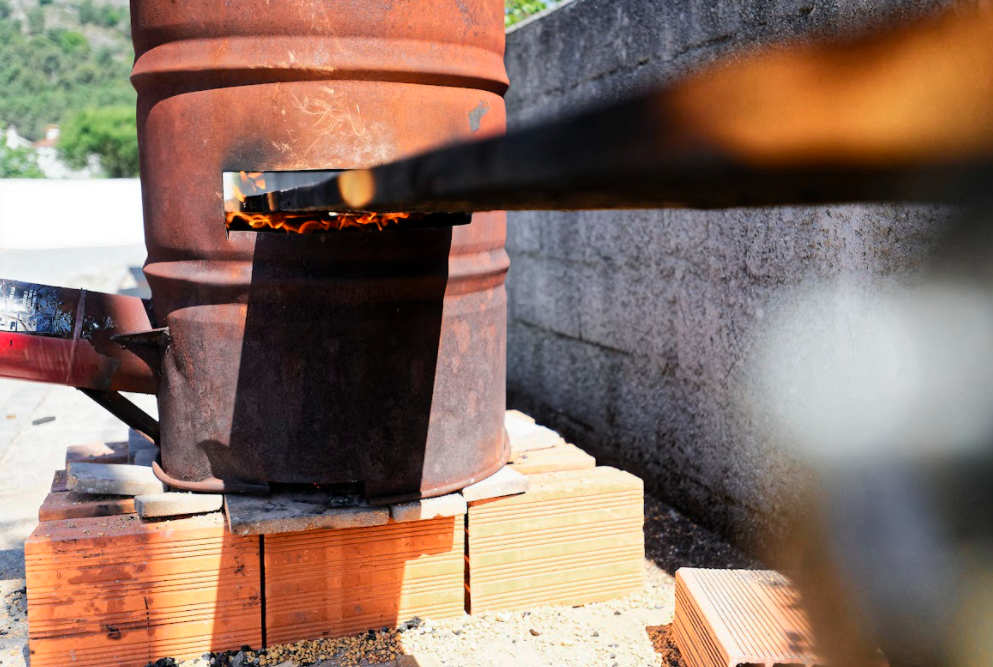
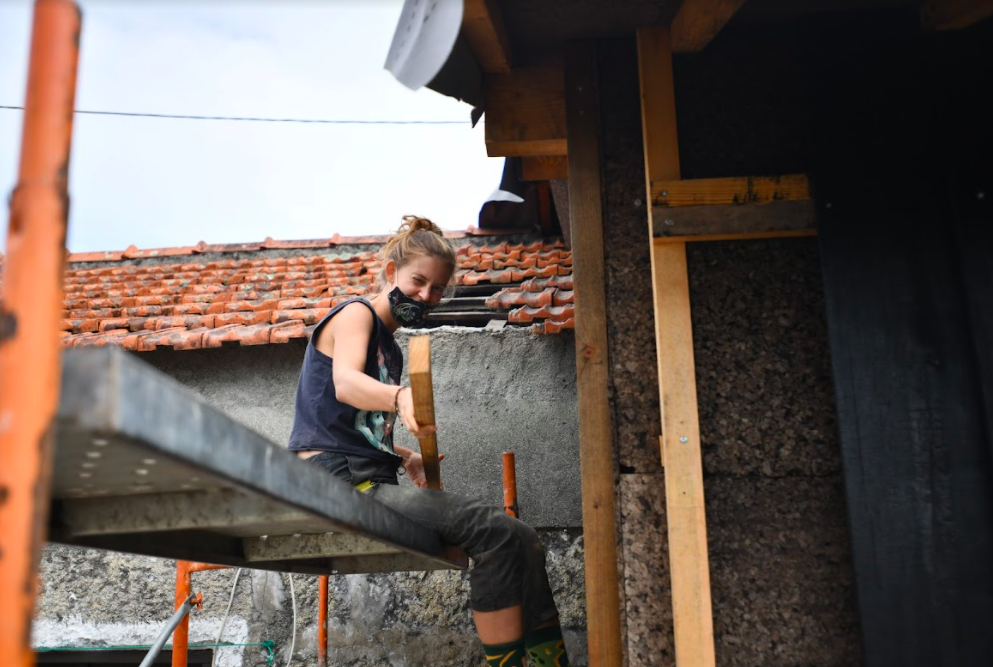
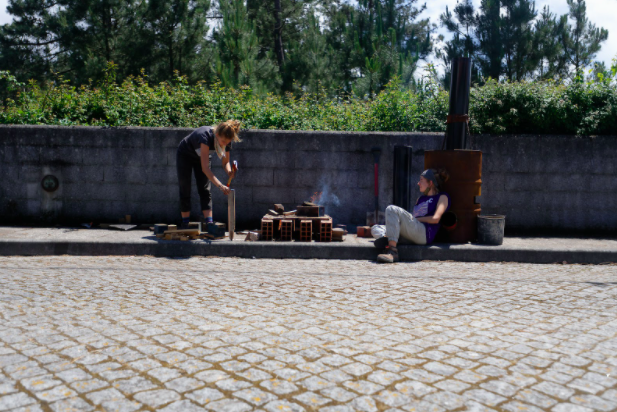
The name rocket stove in itself made me curious. On top of that, I had also done some research on rocket stoves in one of the Participatory Design courses. I started my second week with Pietro, our Raw Earth course instructor and Martina, Mycelium course instructor, to complete the stove that could be used for both cooking and heating the entire house.
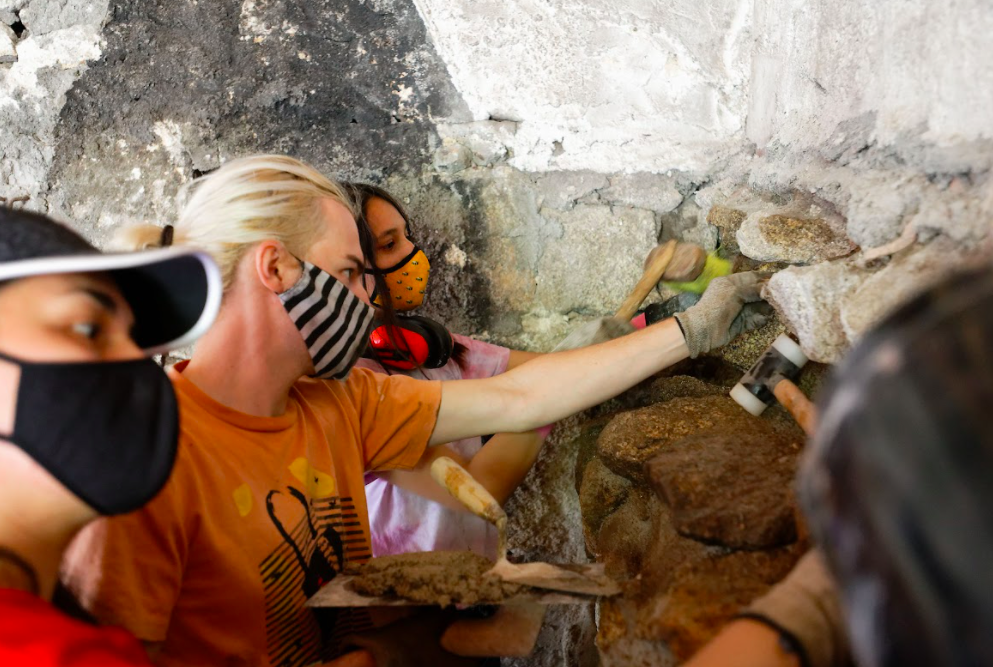
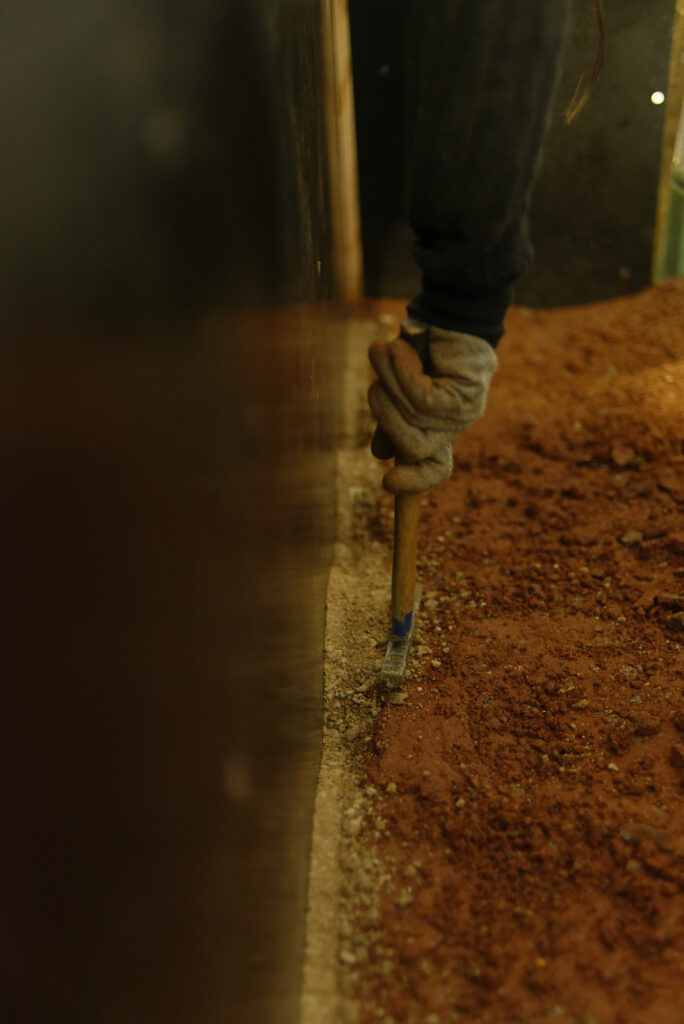
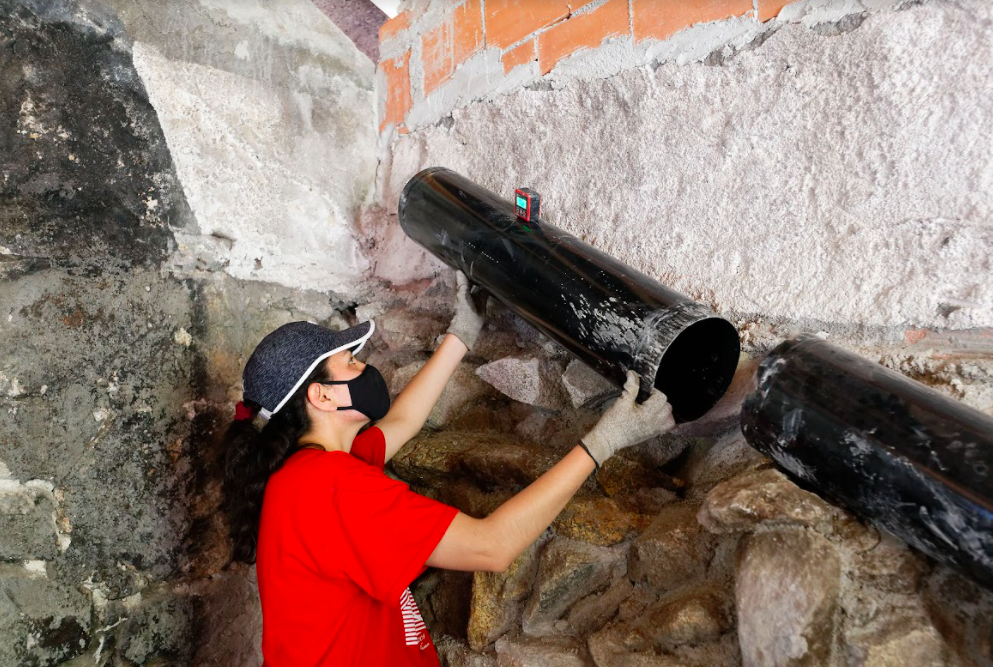
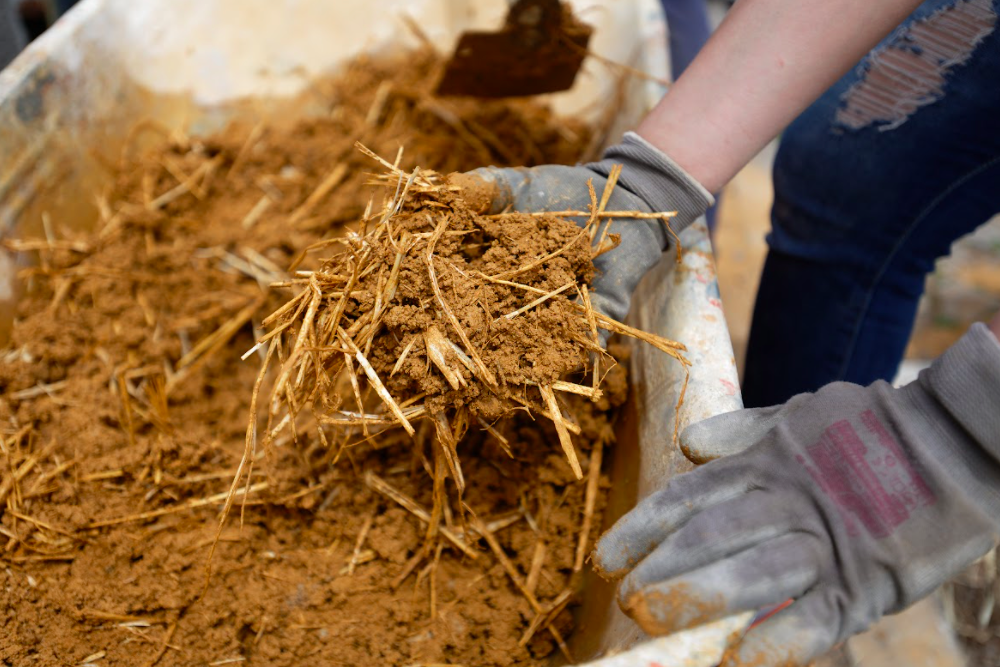
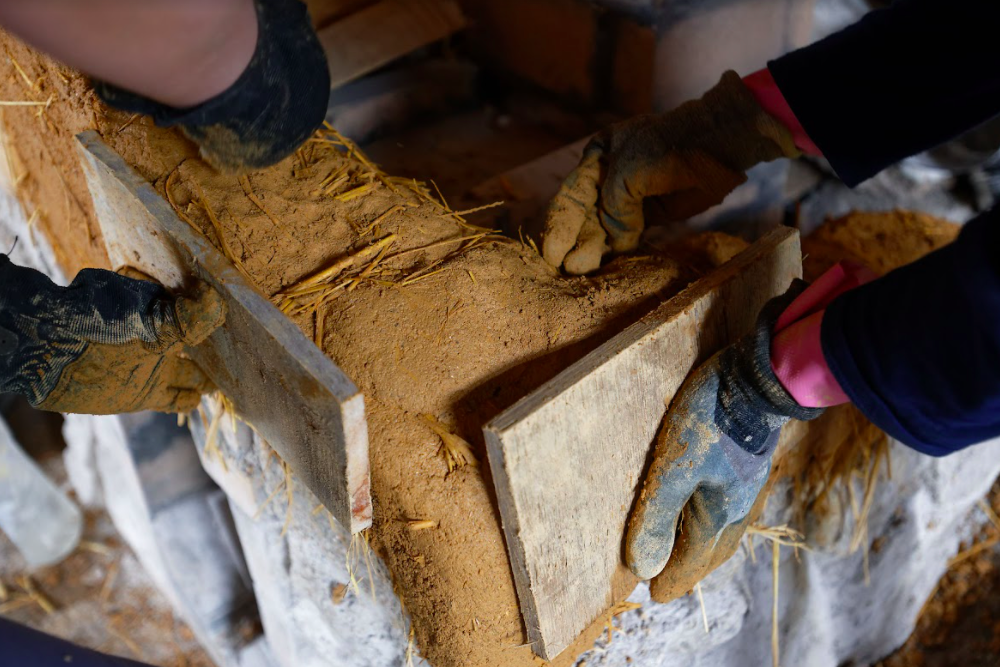
The making of the rocket stove involved lots of earth mix, it didn’t involve knowing rocket science at all. First, a stone wall had to be built to lay an exhaust pipe with an inclination of 30 degrees. The purpose of this was to carry the smoke from the rocket stove out of the house. For the stone wall, we prepared Argamassa (mortar) to attach stones of many sizes together and this alone took days to finish. As soon as the wall was completed, we started to make the exterior of the rocket stove with earth mix. The earth mix was ¼ part lime, 2 ½ part excavation, and ½ part straw. Since we were working with materials that were locally available, the excavation we were using included large stones. We wanted the mix to be a combination of lime, earth, and straw, so we sieved the stones out.
At times building with raw earth felt like cooking, in a sense that there is a process to achieve the result. You cannot skip a part to make the process faster, there is a procedure that you must follow otherwise the mix will not be suitable for construction. Therefore, while making the earth mix, it is important to completely let lime and excavation combine before putting any water. Once lime and excavation are completely mixed, giving off a grey-brown color, you slowly add water and straw to make a mixture. We used the cob technique to compress and compact fist sized balls, smashing it to attach them onto the pre-existing walls.
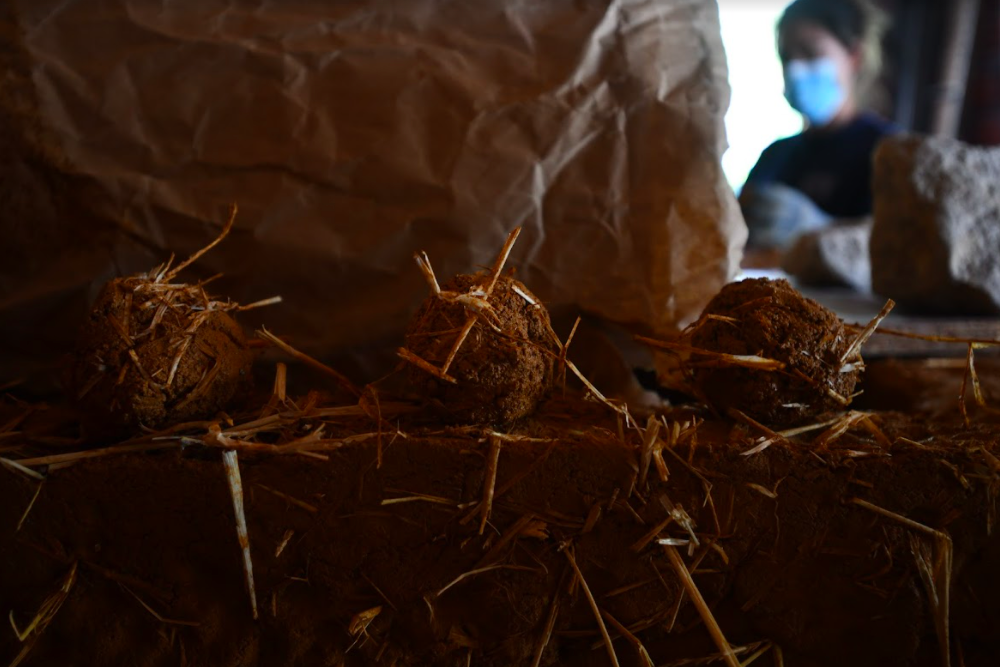
Slap slap slap!! We were hitting the earth mix on the side with a board to pack it down together. Another important thing that Pietro shared with us was that the cob technique allows us to build 30 cm per day. Since the earth mix is massive and wet, it needs time to dry and be compacted to build another layer on top of it. To keep the layers of earth mix interconnected, we created a vertebra-like structure at the end.
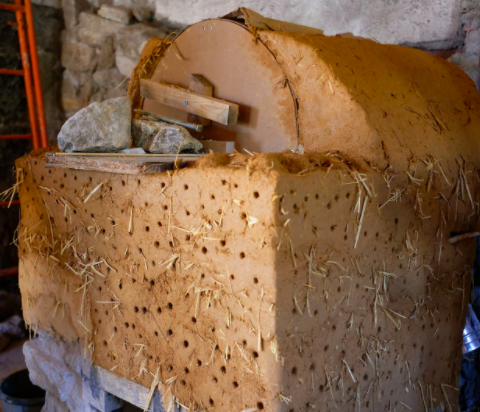
The rocket stove workshop made me realize how earth as a material is flexible. I could mold it in any shape I wanted and working on it with hands felt therapeutic. With the rocket stove, we were trying to achieve a dome shaped exterior to give it a character of its own. We molded the earth mix into long tiny sausages to create a curve on the upper part of the stove. It was interesting to see how earth could be shaped into any form with the right formwork which is also one of the big advantages of working with this natural material.
Life on Site
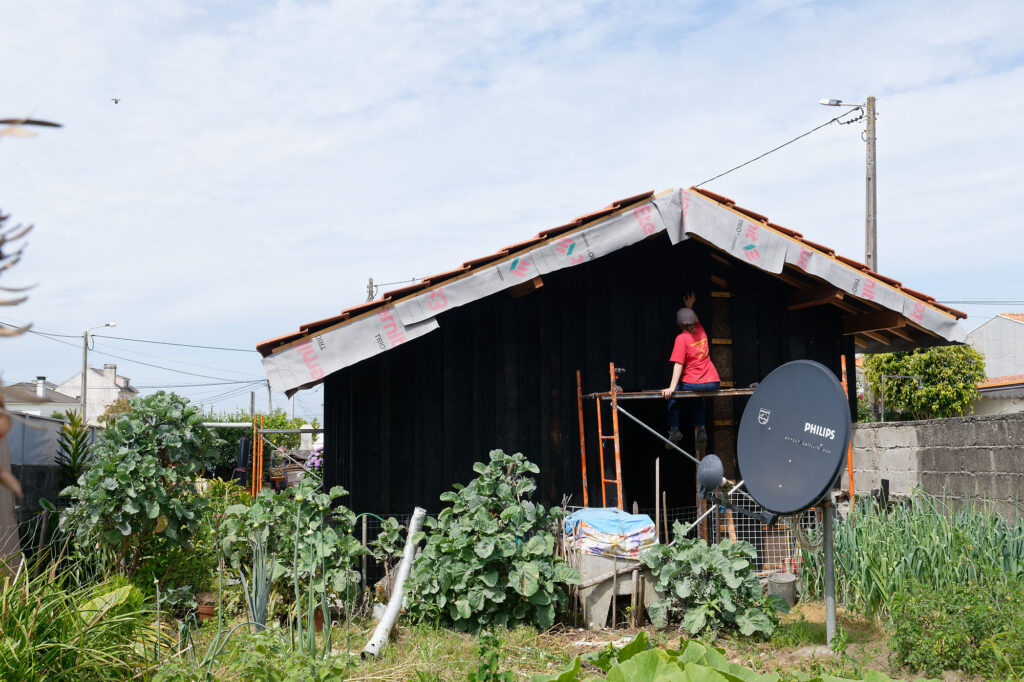
The Esposende building site was located between the ocean and mountains. In the early morning, you could see the tip of the mountains covered in fog and in the late afternoon during those early hot, summer days, you could see the blue ocean in the distance. With our cup of coffee that the Critical Concrete team prepared for us every morning, the day started with division of tasks and the students always got to pick first which task they wanted to be involved in.
After our coffee we all got into the groove and the site came to life again. Some of us were carrying heavy stones, using power tools, hanging on the roof putting tiles while others were listening carefully to what Hugo, our Vernacular Architecture course instructor, with immense knowledge and a sense of perfection, had to teach about board and batten cladding systems. It was fascinating to observe how everybody worked individually and in teams and clearly I wasn’t the only one who thought this. The neighbors in Esposende would walk by observing, commenting on our work, with their hands clasped behind their backs!
“It’s called umarell in Italian,” Linda shared jokingly.
Apparently, in Italian slang, umarell is when elderly people gather to observe construction sites and comment on how to do the work, often with holding their hands behind their back.

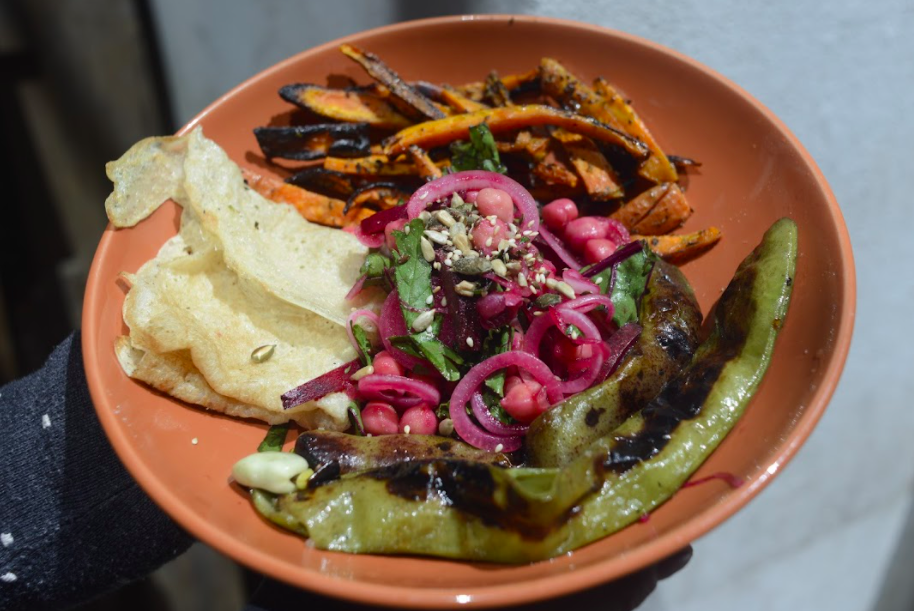
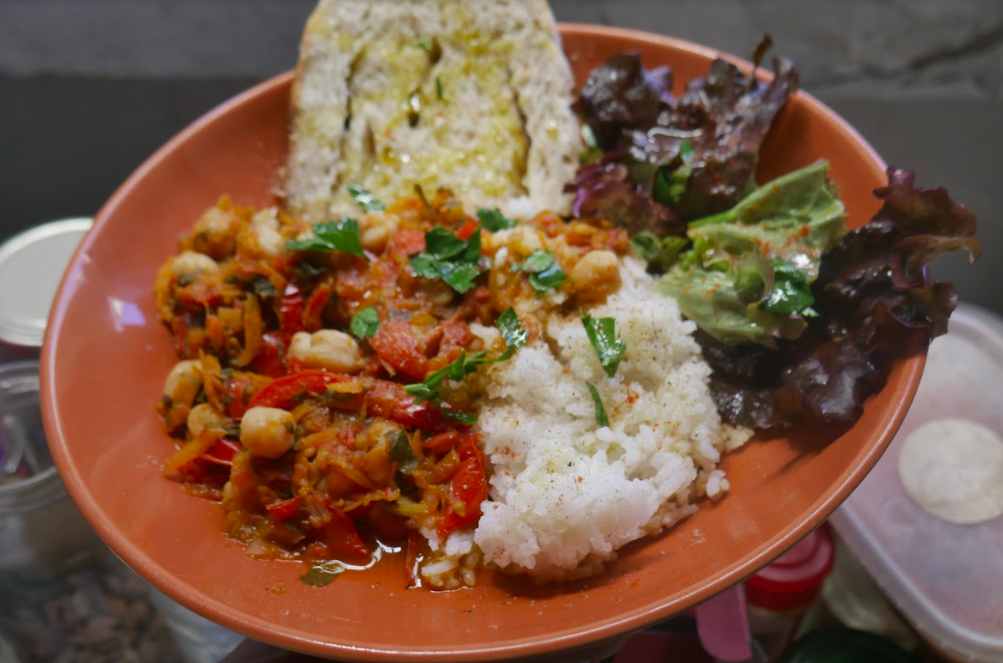
I became a umarell when it came to food. The Critical Concrete team prepared big batches of healthy, colorful vegan food during lunch time and we would all observe in awe. The variety of food made from simple ingredients that Critical Concrete provided us inspired me to be creative with food that we eat on a day-to-day basis. How many times do we actually think about eating in a sustainable manner? How do we creatively use leftover food in our diet? These questions among many others helped me unlearn and learn new ways of looking at sustainability.
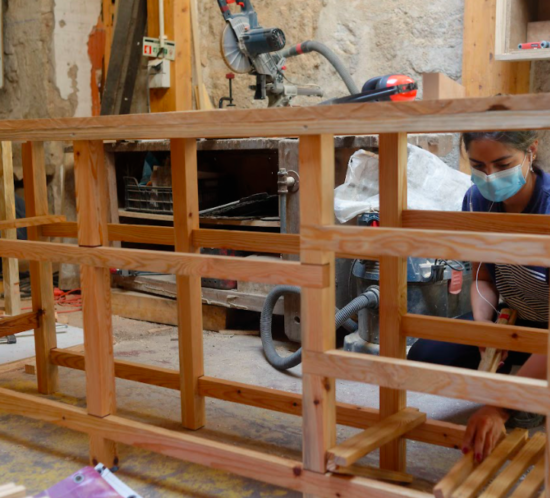
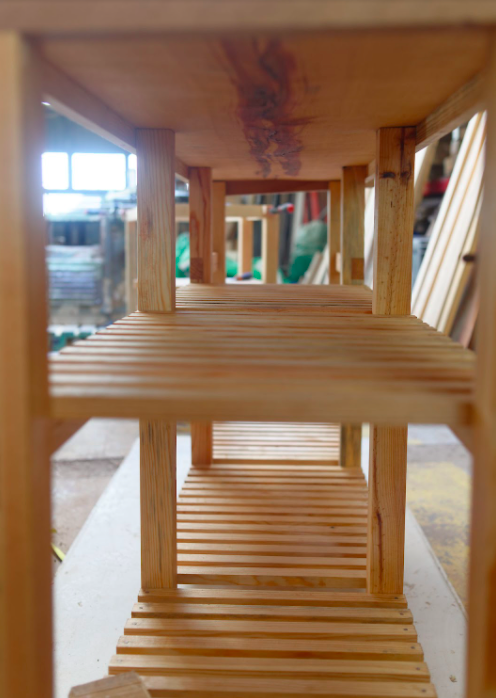
Week 3 | Furniture Workshop | Samuel Kalika
I noticed how different building materials can be. Whereas with raw earth, exactness is not so important, with wood each millimeter is important. Building beautiful furniture requires many steps, patience, and exactness,” Viviana shared. After working with flexible material like earth, wood seemed like unlocking a whole different dimension. Samuel, our Participatory Design course instructor, understood this well and he made our work easier by giving us instructions on every powerful tool we were using.
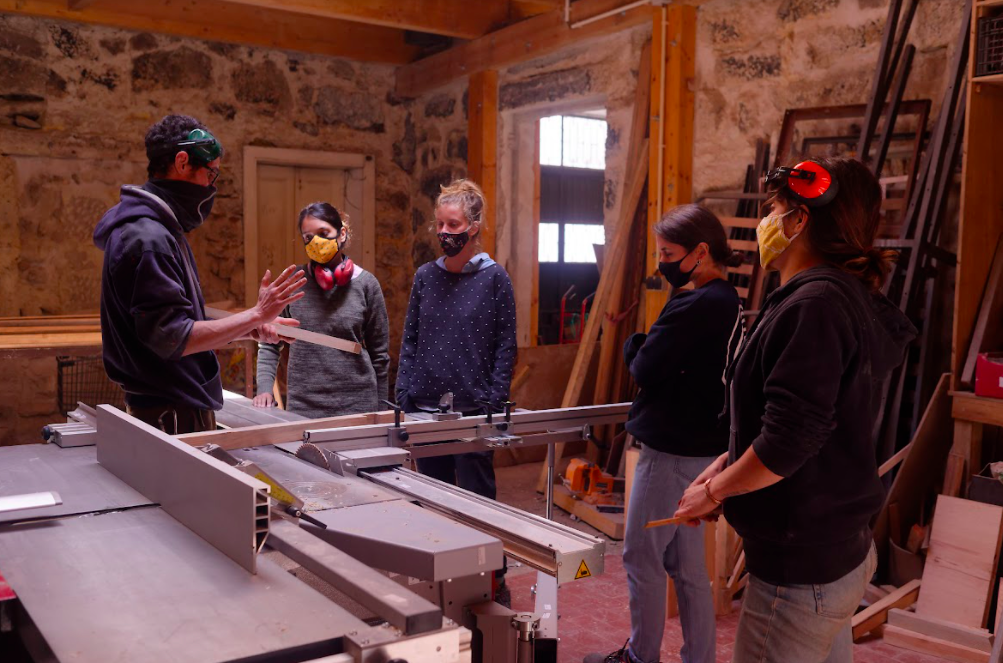
Precision was the key. While cutting wood, if it’s 1 cm off, what could we do? We could not undo a cut once it was made neither could we adjust it, so a big part of the furniture workshop was to find a solution on the spot. We used many different tools to achieve the desired finish and construction: a universal machine to obtain desired thickness, sizes, flatness, and straight surfaces; the meter saw; the sander. Gradually the counters for the kitchen in Esposende house began to take shape. “As soon as I started approaching the work, I understood the importance of being precise in all the small details. Once we developed a good flow in the process, the work became easier and faster,” commented participant Linda Tonin.
*Sketch by Charlotte Schneider, Alumni, Post Graduation 2020-2021
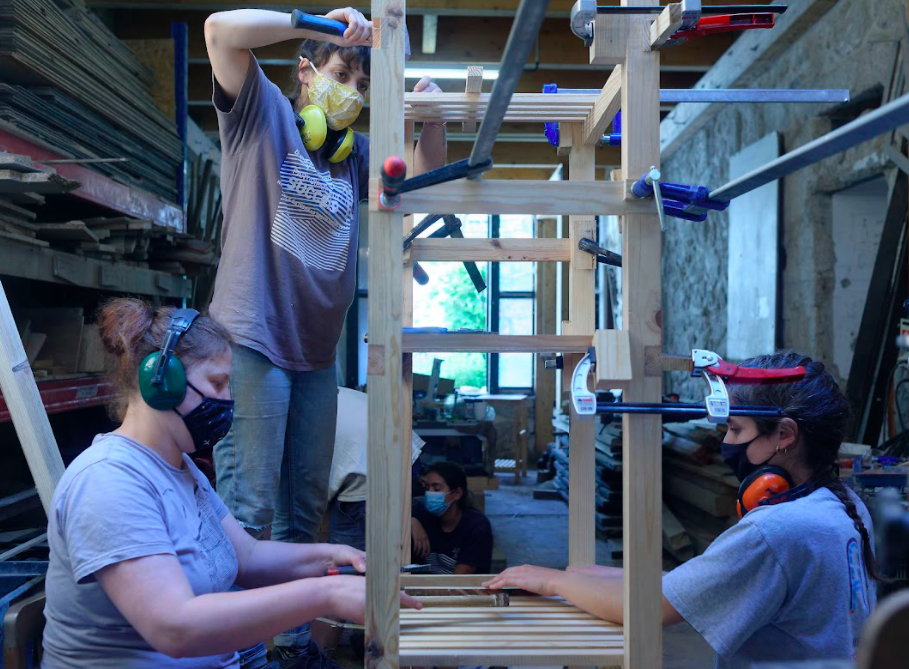
While trying to achieve precision, mistakes are bound to occur but this is part of the learning process and that made the experience lighter and took away the fear of judgment.
“To assemble the pieces, in particular for the bigger elements, we set up a strategy, naming the pieces of wood and measuring the different thicknesses needed for the joining beams. Since different people worked on the cutting process, sometimes the joints’ holes had different sizes. We took these mistakes as an occasion to add different colors of wood to fill the spaces: the mistakes, at the end, added aesthetic value to the furniture pieces,” Linda reflected.
REFLECTION
During the whole workshop, each one of us were sharing our experience of working in different environments. We were trying to understand what our preferences are, what materials, tools we like to use, and which instructors’ teaching style catered to our learning approach.
“Beyond the excitement, time passing and the verge to finish, it was necessary to maintain a safe working space, making sure you and everyone around is comfortable and don’t cause any danger. Having this in mind, I learned how to remain calm and careful with all the tasks, machines and my colleagues. This atmosphere brought a lot of awareness and future-thinking into my habits,” Agnieszka described her experience.
“Starting with the fact that the workshop took me out of all my comfort zones, I can say that the first learning was that the “unknown” can be very good. And the learnings went beyond practical. Being in contact with such an international and so human team certainly awakened in me my best version, my confidence in a more correct and viable future and made me reflect and work on my limiting standards. It was definitely a great achievement to be in a healthy work environment,” shared Júlia.
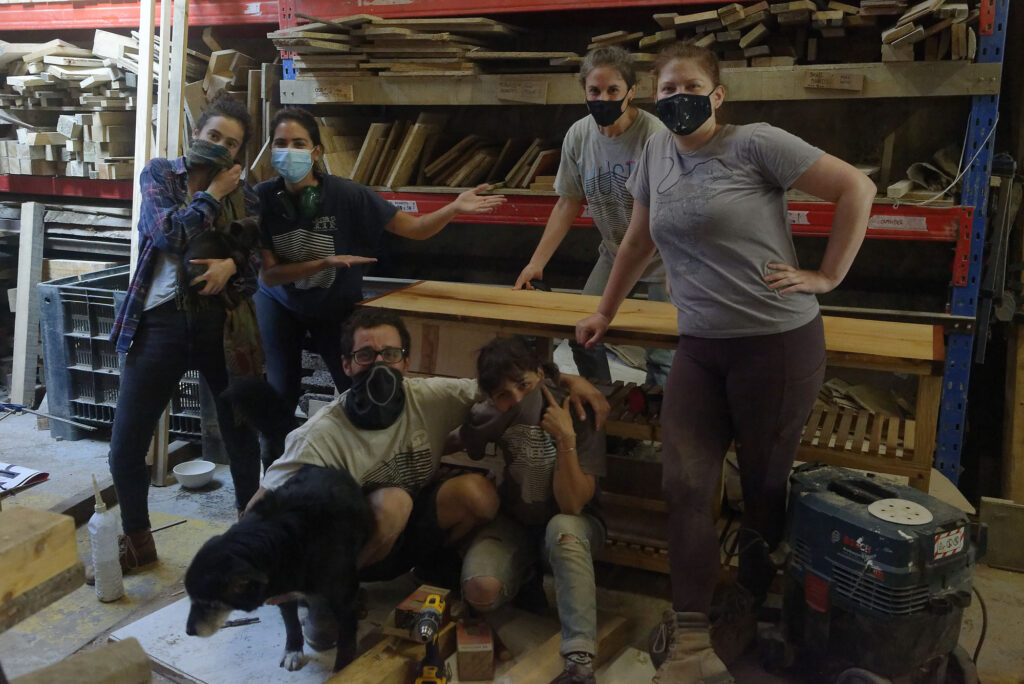
I resonate with both Agnieszka and Júlia. My experience with working in a group was liberating. It taught me how everybody in a team works differently — how each individual works, thinks, coordinates and cooperates while working on a project. On top of that, our group was very diverse, so learning from each one of them and getting to interact with everybody in-person felt special during this uncertain pandemic time. We were able to transfer our expertise and learn from each other’s skills. At the same time, we were a group of women doing construction work, realizing our own potential and that was empowerment in itself.
On a personal note, the workshop also altered my relationship with the construction industry and my perception of emancipated women. Historically, women have existed within the confinement of domestic space therefore women who occupy space outside of the predictable situations are labeled ‘modern’. And if the working conditions are healthy and their work is comparable to the status of a male, they are given recognition and visibility. But are all women able to get the same visibility and prestige as the emancipated, educated women? Women from lower class and caste in South Asia have been working in extreme conditions in construction sites and brick factories out of economic necessity. They have to go through daily work toxicity in a largely male-dominated workplace. While reflecting back on the practical workshop, I realize the utter importance of an equal workplace environment in the labor industry and greater recognition of those women who have paved the way.
The post An SSA student’s perspective on working in construction and practical workshops appeared first on Critical Concrete.
Did you miss our previous article…
https://cedarparkconcrete.org/?p=317


")